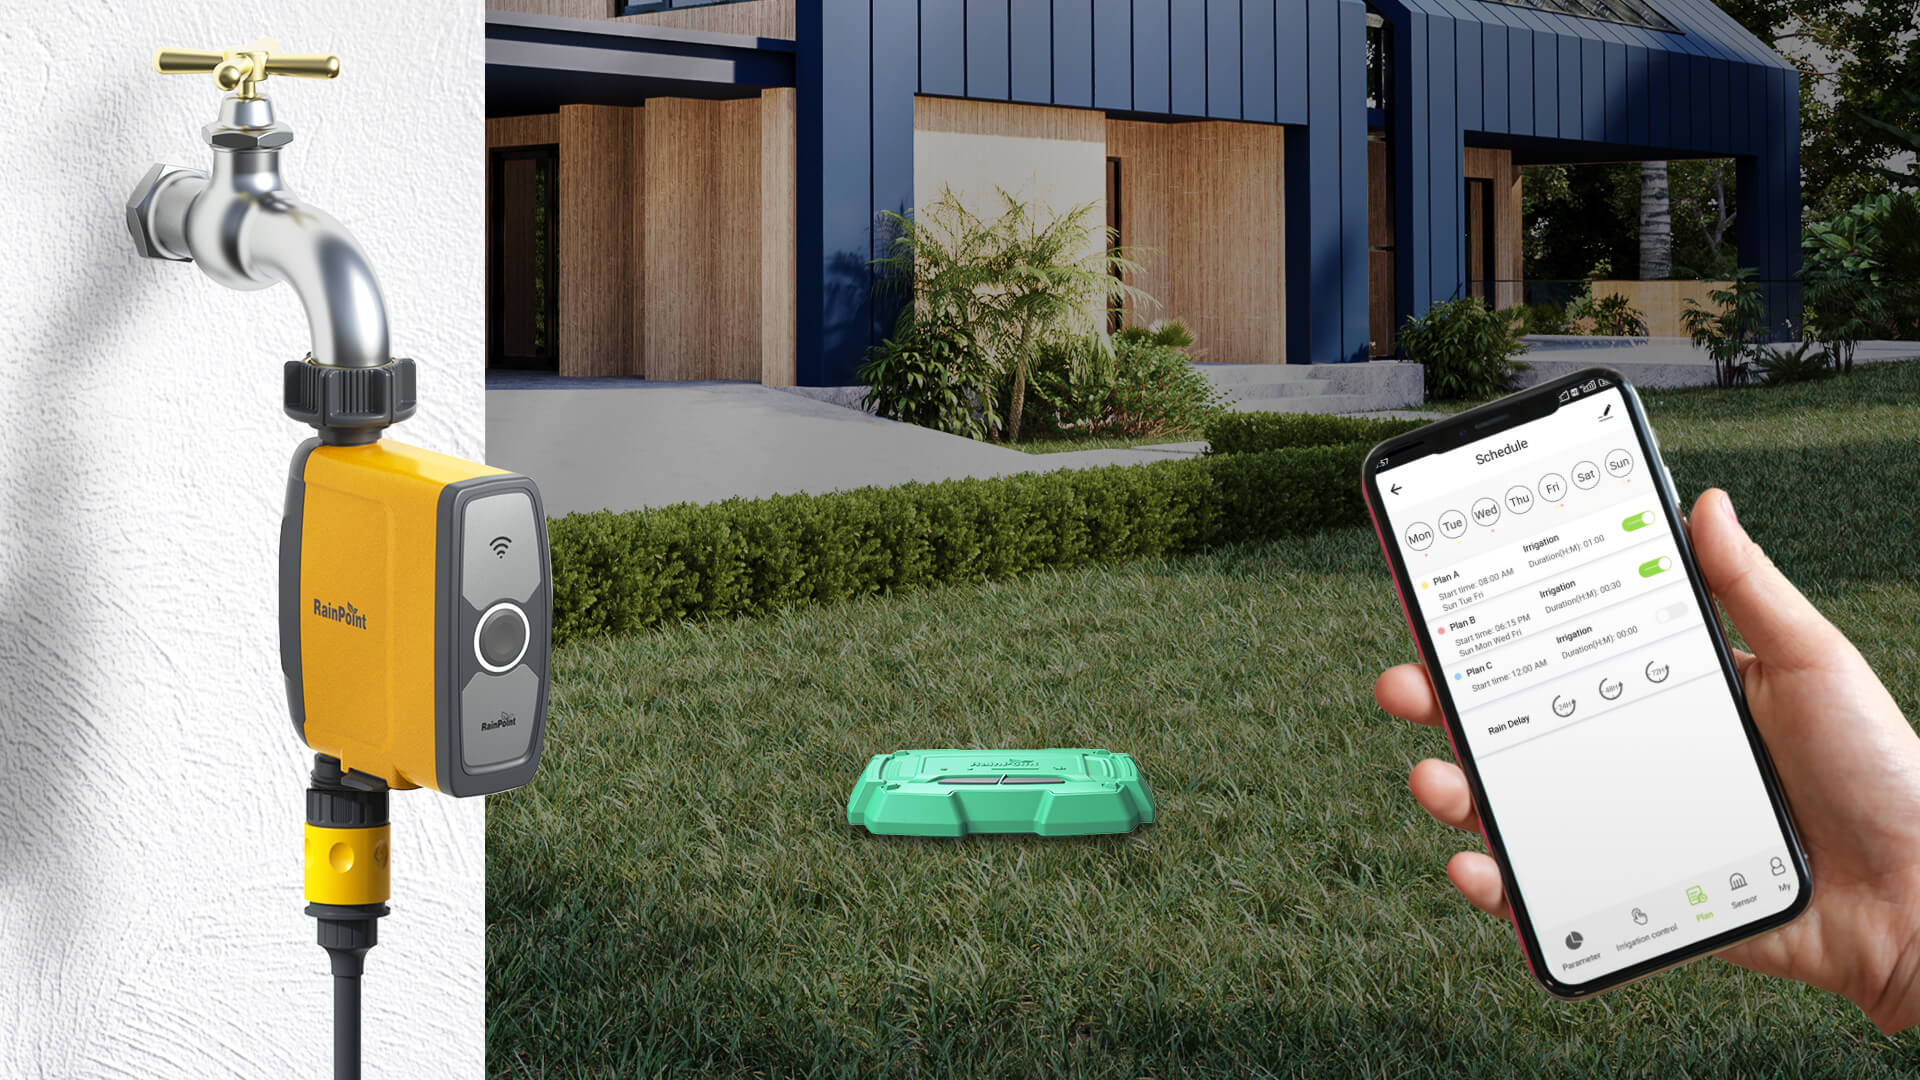
If you are looking to upgrade your irrigation system, now is the time to take action. We have two products that will bring your home gardening to the next level: The RainPoint Sprinkler Timer with Wi-Fi Hub and the RainPoint Sprinkler 2 Outlets Timer. Each have distinct features that will suite all kinds of homes and lifestyles. Check out the items below and see which one is right for you!
The RainPoint Sprinkler Timer with Wi-Fi Hub
This unit connects to Wi-Fi and can control your water scheduling with the RainPoint App. It also connects to a soil sensor (sold separately) that indicates the weather forecast and soil moisture. This is especially helpful because the soil sensor will delay the watering schedule if you should have a spell of rain in your neighborhood. Don’t worry about your schedule being thrown off by the rain, the app will account for the change in schedule and will keep things running on time. You can have 3 separate watering programs which means you can have your yard or garden watered up to three times a day whenever you want! This unit also has a built-in water flow meter with two modes (irrigation and mist) which will help you keep track of how much water you are using in your home.

Unboxing and Pairing
You have two units in the box when you first receive your product. You will have the water timer and the Wi-Fi hub. First, download the RainPoint App onto your phone. Once you have done that you will be able to pair your devices and customize your settings and schedules.
Pair your unit to your phone by plugging the Wi-Fi hub into an outlet. Hold the round white button down until the LED light starts to blink. On your RainPoint App, click “Add Device” and then go to “Smart Irrigation”. Click “The Irrigation Hub” and confirm that the indicator on the unit rapidly blinked and then connect to your local Wi-Fi. Click “The Irrigation Hub” and confirm that the indicator on the unit rapidly blinked and then connect to your local Wi-Fi.
Before connecting the water timer, make sure you get 4 AA batteries into the timer. From the home screen of the RainPoint App, select “Irrigation Hub”, then “Manage Added Devices”, then “Add More Devices”. Hold the black button down located on the water timer until the LED light blinks on the device. Then confirm the rapid blinking indicator on the unit through the app. The app will let you know when the water timer is connected. Once you have done that you are officially paired and you can get to work!

Learning the Different Icons
While we are not going to cover ever single icon you will see in the app, we will go over the most important icons to get your system up and running.
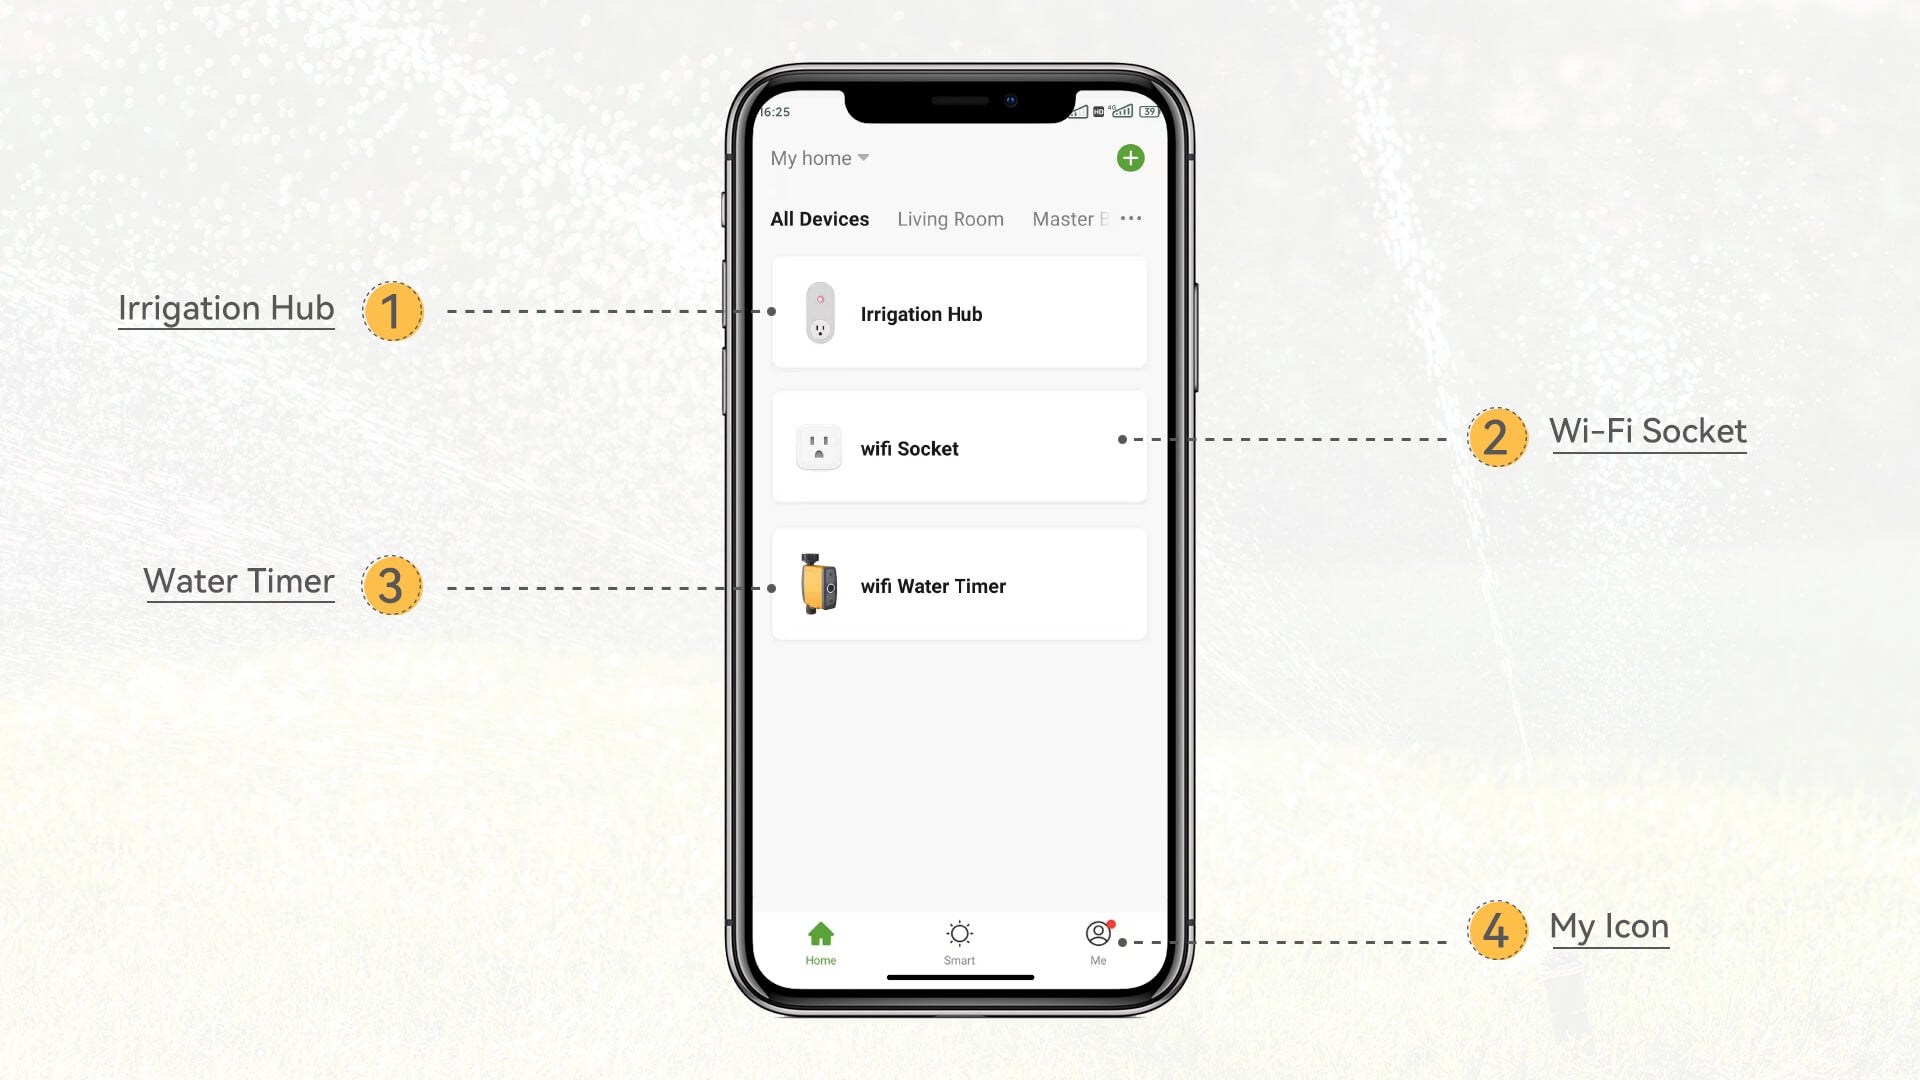
Starting at the home screen of the RainPoint app, there will be 4 icons.
- Irrigation Hub
- Wi-Fi Socket
- Water Timer
- My Icon
The first is the “Irrigation Hub”, which controls all irrigation devices. One irrigation hub can control up to 4 water timers. The second icon is for the “Wi-Fi Socket”. You can plug in and control other RainPoint devices and turn it on and off from your phone. The third icon is the “Water Timer”. This is where you set all your schedules for your watering schedule. The last icon in the app is the “My Icon”. Here you can find instructions, contact info, and the current version your system is running. Those are all the basic functions of the RainPoint App.

Scheduling Watering
Click the “Wi-Fi Water Timer” icon. Here, you can see your battery status, mode, next irrigation and previous irrigation water usage.
The second icon is a “Manual Water Setting”. You can choose between one minute to an hour for additional watering. Slide the green circle to water time you want and select start.
The third icon is your “Water Schedule Plan”. Here you can choose between 3 plans. Click plan A. Here you can schedule the time and duration of your watering. You can also choose which days to water. When you are finished, click save.
The fourth icon in your water timer is the “Soil Sensor”. This sensor allows you to track soil humidity and temperature for the last 10 days. To use the soil sensor, insert 3 AAA batteries in the back of the soil sensor. Once you are done hold down the black button on the unit until the red light on the unit turns on. When you go back to your phone and you will see the 10-day history of your soil.

Summary
Using the rainpoint Smart WiFi Sprinkler Timer is a key step in achieving an unattended smart irrigation system. You can set up automation and custom scenarios through your phone, and a simple installation will solve your gardening worries and give you more time to enjoy your life.


